Intro
As a follow on to last week's post, this week I am again exploring out the PHP UI extension which lets you create desktop PHP 7 programs. My mission this time is set up a basic form for letting you type some inputs in boxes, push a button and see an output somewhere else.
What's up, doc?
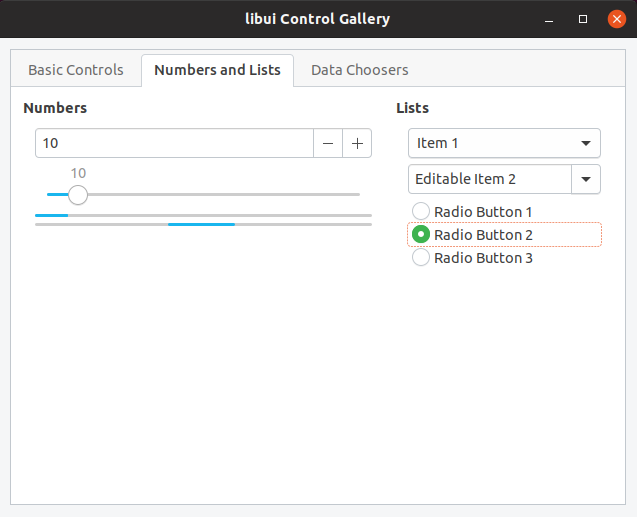
OK, so the only real documentation the UI extension seems to have (at the time of writing) are some pages on php.net website. There is also the "gallery.php" example file from the project itself, which shows you ways to put elements on a GUI window.
Keep It Simple, Stupid
I just want to make a simple window with a form and button. So, after playing around with some of the ways to do things demonstrated in the "gallery.php", I found out a way for beginners to do things but it's not perfect.
A beginner has a choice of trying things with Box, Group, Grid and Form elements. The Grid element is especially useful because it lets you set a size on elements it will contain, and position it in relation to other elements. However, Form is the thing to stick with when you first try things out. The full source code for the example can be found at the end of this blog post.
At the top of your PHP code file, you will need to insert "use" statements for the elements you're going to put in your window, e.g.
use UI\Window;
use UI\Controls\Form;
Showing Good Form
A Form element is created like this, and you can append more elements within it:
$entryForm1 = new Form();
$entryForm1->setPadded(true);
$entryForm1->append("", new Label("Enter text to match with a reg ex"));
I also want to multiline (MultilineEntry) inputs, which I'll append to the form later:
$haystackEntry = new MultilineEntry(MultilineEntry::Wrap);
$outputEntry = new MultilineEntry(MultilineEntry::Wrap);
I further have the need to put "spacing" rows between lines. I've tried various ways to do this but the quick way to this is just to append a blank Label, which act like an empty row, e.g.
$entryForm1->append("", new Label(""));
Push My Button
It's easy to add a button to a form. However, I need a button that will execute an specific action once its event is triggered, i.e. the button is clicked. To do this, it looks like we have extend the UI's Button class and put in the functionality we need it to do for us. Here's my effort:
/**
* The class extends the UI's Button class, so there is an onClick method we can
* use as an event handler.
*/
class ButtonSubmit extends Button {
public function __construct(string $text,
MultilineEntry $inputHaystackCtrl,
MultilineEntry $inputRegexCtrl,
MultilineEntry $outputCtrl
) {
$this->inputHaystackCtrl = $inputHaystackCtrl;
$this->inputRegexCtrl = $inputRegexCtrl;
$this->outputCtrl = $outputCtrl;
parent::__construct($text);
}
/**
* When the button is clicked, take the "haystack" text from one entry input
* and try to match it with the regular expression in the other entry input.
* Show a result in the output input.
*/
protected function onClick() {
$matches = "";
$haystackString = $this->inputHaystackCtrl->getText();
$regExToMatch = $this->inputRegexCtrl->getText();
preg_match($regExToMatch, $haystackString, $matches, PREG_OFFSET_CAPTURE);
$outputMessages = ["You entered: " . $haystackString . "."];
$outputMessages[] = "Number of matches: " . count($matches);
$this->outputCtrl->setText(implode("\n", $outputMessages));
}
private $inputHaystackCtrl;
private $inputRegexCtrl;
private $outputCtrl;
};
Then add my button to the form:
$entryForm1->append("", $btnSubmit);
Open the Window
$window = new Window("Regex form", new Size(640, 480), true);
$window->add($entryForm1);
Then call the window show() method, and start the UI interaction loop:
UI\run();
When you run your php program, you'll see your form window appear. You'll also probably notice that the button element is unusually wide; we can't resize it. I did say the Form element was good to learn but not perfect ;-)

Get Trigger Happy
Enter some text in the "Text" mulitline input. The click the Submit button to see if the event gets triggered.

So, there you have it - a simple form with a button that executes an event. It might not be a competitor for Windows Forms, but it's a start.
Full Source Code
<?php
use UI\Size;
use UI\Window;
use UI\Controls\Form;
use UI\Controls\Button;
use UI\Controls\MultilineEntry;
use UI\Controls\Label;
// Lets make a button with custom features to handle inputs
/**
* The class extends the UI's Button class, so there is an onClick method we can
* use as an event handler.
*/
class ButtonSubmit extends Button {
public function __construct(string $text,
MultilineEntry $inputHaystackCtrl,
MultilineEntry $inputRegexCtrl,
MultilineEntry $outputCtrl
) {
$this->inputHaystackCtrl = $inputHaystackCtrl;
$this->inputRegexCtrl = $inputRegexCtrl;
$this->outputCtrl = $outputCtrl;
parent::__construct($text);
}
/**
* When the button is clicked, take the "haystack" text from one entry input
* and try to match it with the regular expression in the other entry input.
* Show a result in the output input.
*/
protected function onClick() {
$matches = "";
$haystackString = $this->inputHaystackCtrl->getText();
$regExToMatch = $this->inputRegexCtrl->getText();
preg_match($regExToMatch, $haystackString, $matches, PREG_OFFSET_CAPTURE);
$outputMessages = ["You entered: " . $haystackString . "."];
$outputMessages[] = "Number of matches: " . count($matches);
$this->outputCtrl->setText(implode("\n", $outputMessages));
}
private $inputHaystackCtrl;
private $inputRegexCtrl;
private $outputCtrl;
};
/**
* Let's build a Wdindow with a form in it
*/
function getRegexFormWindow() {
$haystackEntry = new MultilineEntry(MultilineEntry::Wrap);
$regExEntry = new MultilineEntry(MultilineEntry::Wrap);
$regExEntry->setText("/(foo)(bar)(baz)/");
$outputEntry = new MultilineEntry(MultilineEntry::Wrap);
$btnSubmit = new ButtonSubmit("Submit", $haystackEntry, $regExEntry, $outputEntry);
$entryForm1 = new Form();
$entryForm1->setPadded(true);
$entryForm1->append("", new Label("Enter text to match with a reg ex"));
$entryForm1->append("", new Label(""));
$entryForm1->append("Text", $haystackEntry, true);
$entryForm1->append("", new Label(""));
$entryForm1->append("Reg ex", $regExEntry, true);
$entryForm1->append("", new Label(""));
$entryForm1->append("", $btnSubmit);
$entryForm1->append("", new Label(""));
$entryForm1->append("Output", $outputEntry, true);
$entryForm1->append("", new Label(""));
$window = new Window("Regex form", new Size(640, 480), true);
$window->setMargin(true);
$window->add($entryForm1);
return $window;
}
$regExWindow = getRegexFormWindow();
$regExWindow->show();
UI\run();